Tutorial
Click on thumbnailed images to enlarge
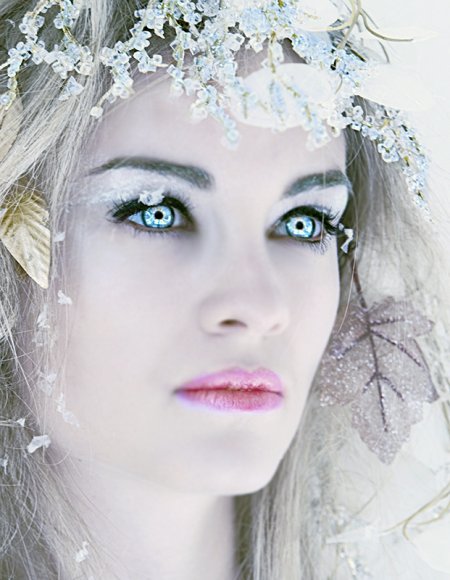
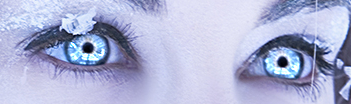
The outcome of a picture using these techniques varies. It depends on how blurry/ clear the picture is. In this picture, her eyes were already a light color so highlighting it made it look "prettier," but if you were to edit my dark brown eyes, it most likely will not be the same or as light, because then distortion occurs. Anyways, let's begin.This is the BEFORE:
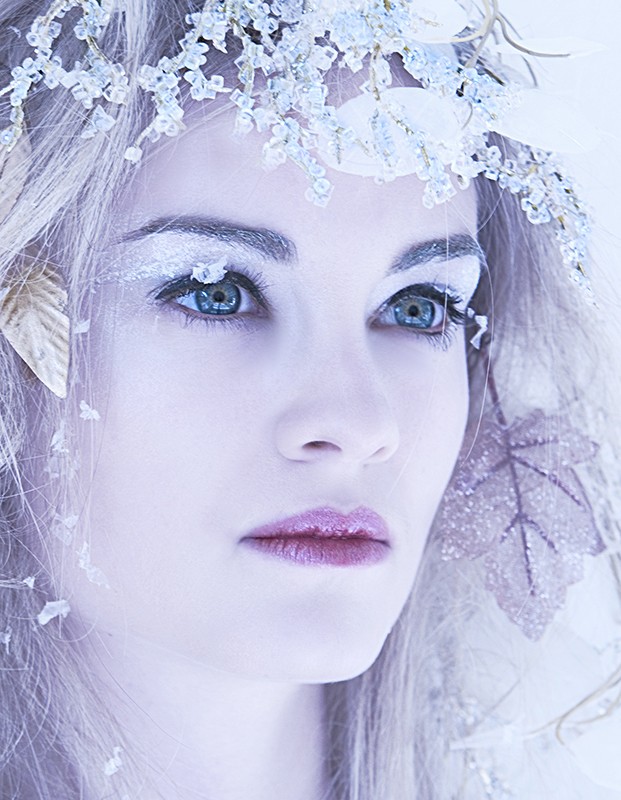
and the AFTER:
* Keep all Strength, Opacity, and Exposure at 100%
1) Of course open up the picture.
2) Zoom in [Ctrl+] about 4 times. That's 400%
3) For editing the eyes I usually use the Dodge tool with a range of Highlights. Use brush size 9px, or w.e. that suits the size of the eye to the picture you are using.
4) So just brush the eyes using the Dodge Tool, while leaving the pupils alone. [Edit until you're satisfy]
5) You may want to touch up the pupils with the burn tool or brushing some black in that area. I used the Burn Tool Range: Midtones at 9px
Before:
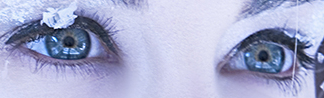
After:
See the difference?!
6) I then Blurred out her skin to create a softer, airbrushed look. Blur Tool at Normal Mode using 100px
7) I added some "Mascara" Simplest thing, find some eyelash brushes. I don't remember where I got mine from, but you can use this site.
http://www.obsidiandawn.com/eyelashes-photoshop-gimp-brushes Just re-size it to make it fit on the eye, and change the opacity to your liking so it looks more natural. XD
8) Time to add some lipstick! First use the Sponge Tool at Saturate. Brush it over the lips. Then create a new layer. Brush over # f0aeae over the lips on the new layer at the Opacity of 57%, then change the Blending Mode to Color.
9) I don't like the bright/neon pink, so I made a new layer using white and Blending Mode of Soft Light to lighten the color up.
10) Go to Image, Adjustments. Then click auto color. This will give her some life to her skin tone.
No comments:
Post a Comment